Find out in this tutorial how to make the selector entries of form created with Gravity Forms to always stay up to date with a little bit of code.
Gravity Forms is without a doubt my favorite form plugin. I use it in all my projects and most of my clients’ ones.
And one of the reasons is that, thanks to its hooks and filters, you can achieve very cool things with a little bit of code.
One of them is that a dropdown, instead of showing static options that you add manually, can display entries that are updated dynamically.
For example, in OsomPress we have a section where we allow you to submit projects that use our themes. In the dropdown we could manually add themes because there aren’t many now, but it’s much better if we program it to keep updating and displaying the themes dynamically, don’t you think?
This is how it looks now:

But the best thing is that we won’t have to worry about modifying it when we add new themes because it will show them automatically.
Isn’t it great?
I’m sure you’re already thinking about how to take advantage of it for a project of yours or your clients.
Let’s see how you can put it into practice.
Steps to make a Gravity Forms form dropdown entries update automatically
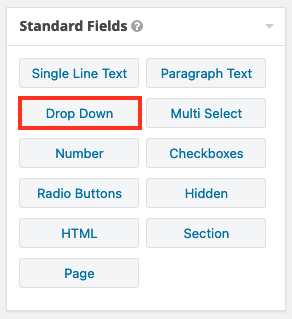
1. Add a dropdown field in Gravity Forms
You can create the Gravity Forms form to your liking, the only thing you’ll need to customize is the dropdown field where you want to add dynamic entries.

To do this you must do two things:
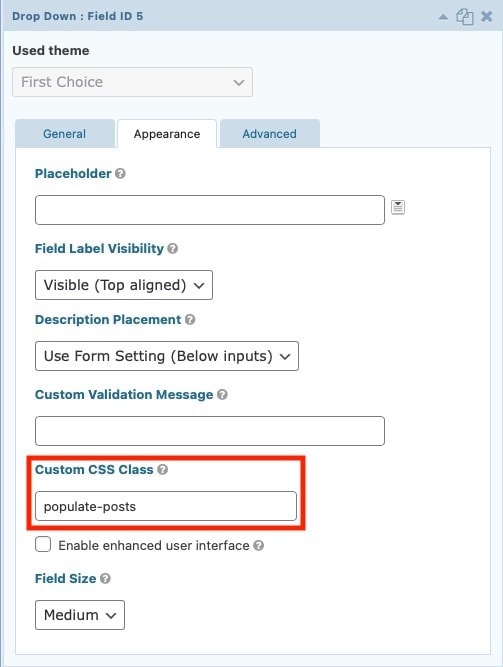
- In the Appearance tab add the “populate-posts” class.
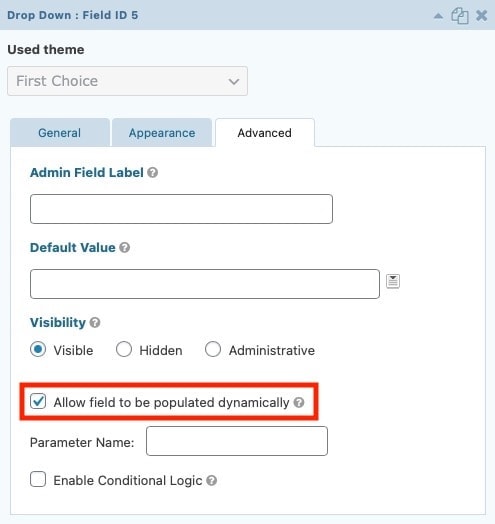
- In the Advanced tab, click on the option “Allow field to be populated dynamically”.
The field should look something like this:
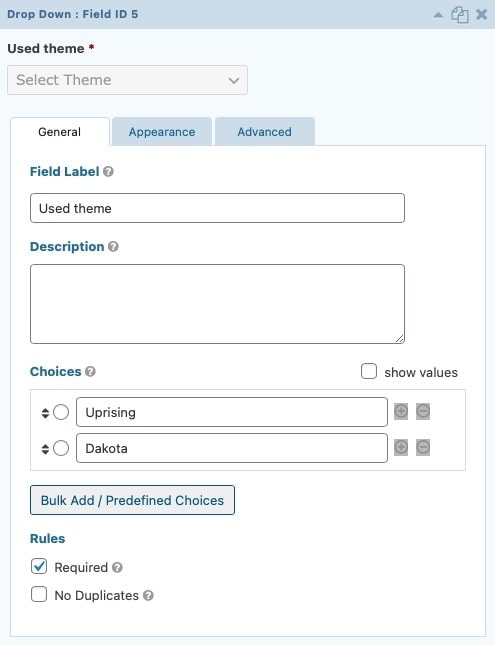
You don’t need to modify the dropdown options in the General tab, as they will update automatically once you do the next step.
2. Use Gravity Forms filters
Now is where you’re going to take advantage of the Gravity Forms filters.
Add the following code at the end of functions.php or in your functionality plugin:
To see this and another 1091 code snippets of this website, login or subscribe here.
In this case, the code is intended for a form with ID=3. So, if you have an ID=7 you’ll have to change the end of the filters from _3 to _7.
You will also have to modify:
- ‘theme’ for the CPT you want to use.
- ‘Select Theme’ for the text you want to display.

Once you apply the snippet, you’ll see that the CPT entries you’ve selected are also displayed in the admin part of the form.
And on the front end of the site you’ll have the dropdown that will automatically update as more entries are published.

Conclusion
Now you know how to get a Gravity Forms dropdown field to update dynamically with the entries of any Custom Post Type.
Any questions? I read you in the comments.
And if you want to give me any suggestion for future tutorials, leave it in the contact form. Advantages of being a subscriber. 😉


